dCloud Help
Find the answers you need to get started using dCloud.
Schedule a Session
February 2023
As a dCloud Guest, Customer, Partner, or Cisco User with standard permissions, you can schedule a session, platform resources permitting, for less than one day or up to a total of five (5) days.
Note: A session starts provisioning at the scheduled date and time and may take 15 minutes or more to become active.
Recommendations & Considerations
To ensure resources are available for all users who want to schedule sessions, please do not treat the 5-day maximum as a target. Rather, schedule for the number of days you require. Typically, one or two days will suffice.
Steps to Schedule a Session
If you want to use a router that you provide with the session, you must configure your router for dCloud use before scheduling the session. Review the content guide for router use and requirements.
Follow these steps to schedule a session in dCloud.
- Browse to dcloud.cisco.com and then log in with your Cisco.com credentials.
You will be prompted to select the data center nearest you if you have not set a data center preference in your user profile.
- Use one of the options below to locate the content you would like to schedule.
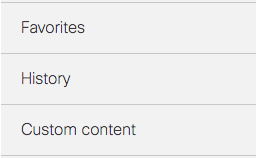
- From the My Hub, use one of the following lists:
- Favorites. Choose content previously tagged as a favorite.
- History. Choose content that you ran in the past 90-days.
- Custom content. Choose customized content that you created and saved.
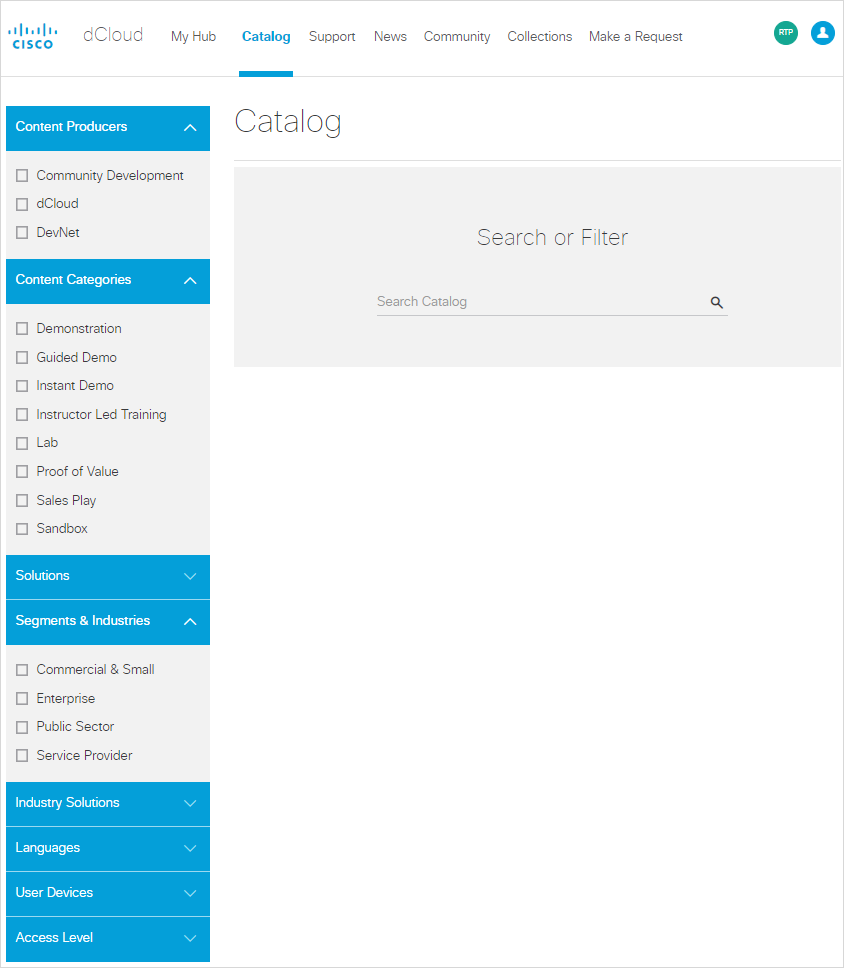
- From the Catalog:
- Click Catalog in the top menu bar.
- Expand the blue tabs to view available options that you can use to filter, such as Content Producers, Content Categories, Solutions, and User Devices or use the Search or Filter feature to help you find relevant content.
- From the My Hub, use one of the following lists:
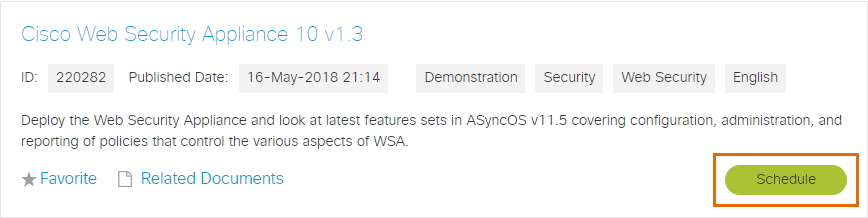
- Click Schedule.
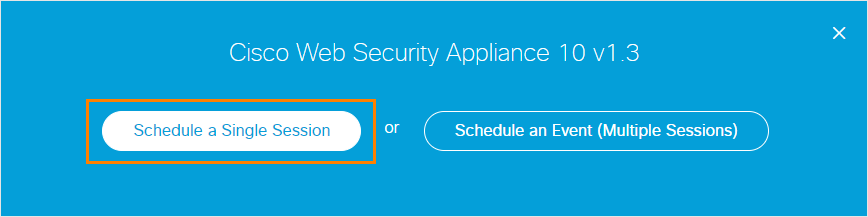
- You are scheduling a single instance of this demo, so click Schedule a Single Session.
- A calendar window opens to the current week. The blue box indicates the next available 4-hour time slot when the data center has the capacity to run your session.
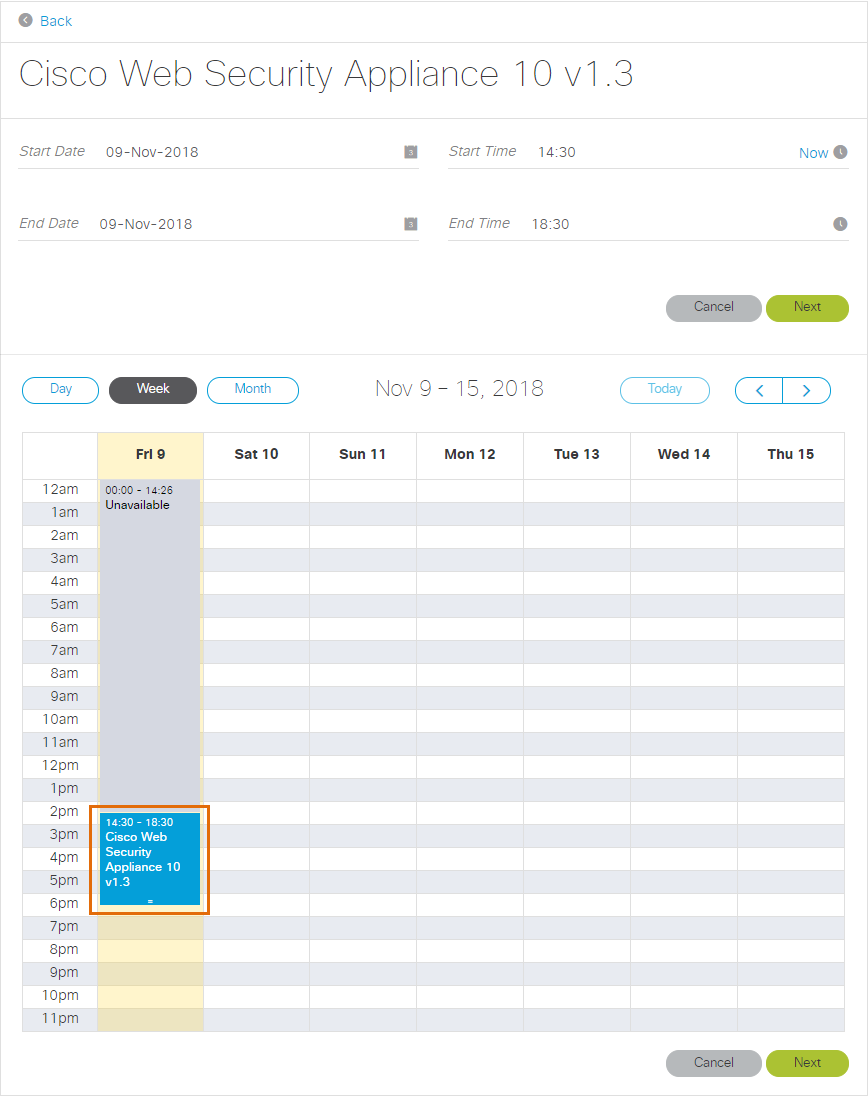
- Keep the selected time slot or change it with one of these options:
- Click Now to start the session as soon as you finish setting the schedule.
The Now button appears only when the data center has sufficient resources to start your session immediately.
- Enter a Start date and Start time and an End date and End time.
- Drag the blue box to another time in the Day, Week, or Month view.
- To change the session end time, mouse-over the handle at the bottom of the blue box: move it up to shorten the session; move it down to extend the session.
- Click Next.
- In the Schedule window, enter all information that applies to your session use. You are required to complete the Primary Use and Revenue Impact fields.
- Choosing Training as your Primary Use activates a third required field: Training Use.
- Choosing Customer Briefing Room (CER, dPod, etc.) activates a third required field: Room.
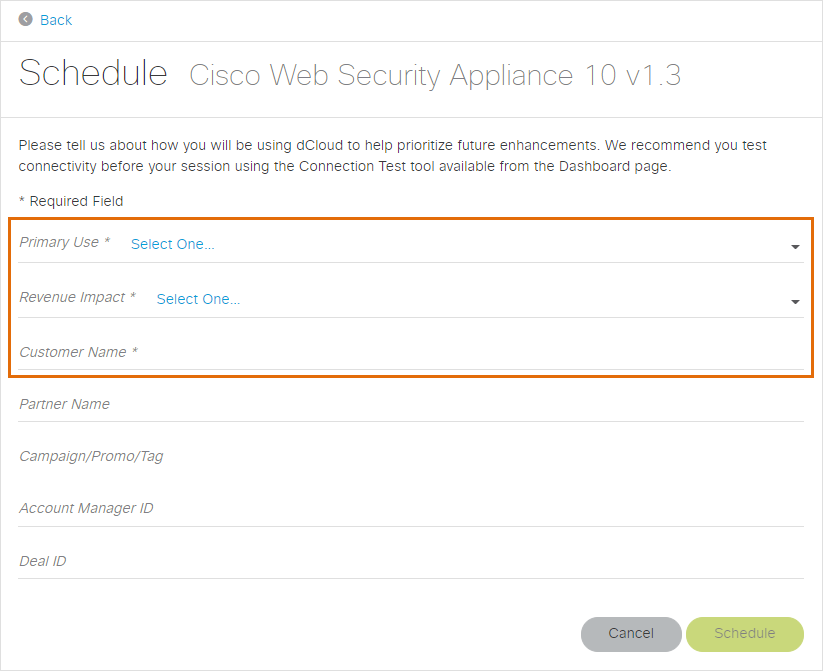
- If you scheduled a session for content that does not support routers or if your available router is scheduled with another session, click Schedule and proceed to step 11.
- If you scheduled a session for content that supports routers and your available router is not scheduled with another session, click Next.
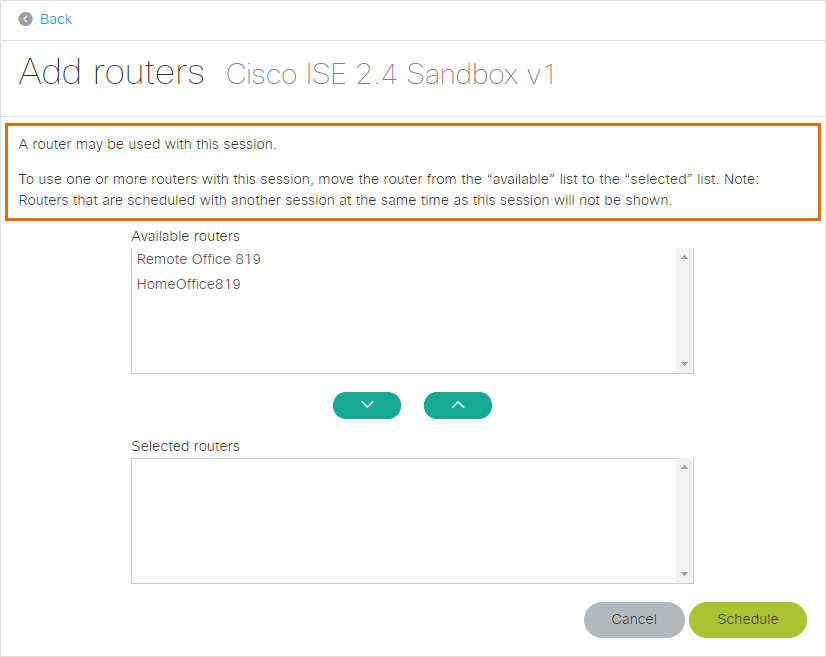
- In the Add routers window, follow the instructions to add one or more routers to the session and then click Schedule.
- You will receive a confirmation email with detailed information about the scheduled session.
- Open My Hub > Sessions and locate your scheduled session.
- The status of the session will display as Scheduled or Starting.

- Your session will start provisioning at the scheduled date and time. It may take 15 minutes or more before your session is active.
- A View button displays when your session is active.

- Click View to view and work with your active session.
Recommendations - Rolling/Extending Your Session
- Book the session for the number of days you need. If you think you'll need a session for a couple of days, book it for two days.
- If needed, you can book a session for up to 5 days.
- Sessions scheduled for less than 5 days can be extended to 5 days.
- Running sessions may be renewed for up to 5 days.
- Session renewals are subject to dCloud resource availablity.
Examples
Example A: You scheduled your Cyber Vision demo to end Thursday, February 16, at 3:00 pm. However, you need until end of the week to compile your notes and prepare your pitch. To roll your session forward until Friday COB:
- Go to My Hub.
- Click Edit under the demo for which you'd like to extend the schedule for your session.
- Click the grey icon to the right of End Date and select the new date (Friday).
- Click the grey icon to the right of End Time and select the new time (5:00 pm).
- Click Update.
Example B: You scheduled your Cyber Vision demo to end after five days. Your session has ended, and you realize you are going to need more time.
- When your session has expired, schedule a new session: Select the demo and then click Schedule.
- Click the grey icon to the right of Start Date and select the new date for the session to re-begin (today, tomorrow, or a another date in the future).
- Click the grey icon to the right of End Date and select the new date for the session to end (up to five days). Schedule only the days you require (up to 5 days total).
- Click the grey icon to the right of End Time and select the time for your new (renewed) session to end.
- Click Next.
![]() Back to top
Back to top
