dCloud Help
Find the answers you need to get started using dCloud.
Quick Links

Install and Configure Jabber for Android
August 2016
You must have an active demonstration and be connected to the Cisco dCloud UI through Cisco AnyConnect to perform this activity. See the Cisco AnyConnect help page for more information.
Install and configure Cisco Jabber IM on your Android device
- From your Android smartphone or tablet, go to the Play Store and download the latest version of Cisco Jabber IM.
- Launch the application by tapping the icon and then tap Accept for the User Agreement.
- Enter the user ID as shown below. Note, the user name will change based on the user the device is assigned to. Be sure to verify the login information from the Preconfigured Users table in the demonstration script.
The images below are captured from an Android smartphone, but the instructions for an Android tablet will be the same.
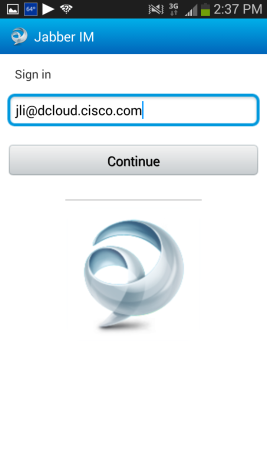
- Tap Continue and choose Unified Presence on the following screen.
- Enter the username, password, and Cisco Unified Presence server address as shown in Figure 2 below. Be sure to check the box next to Accept SSL Certificate.
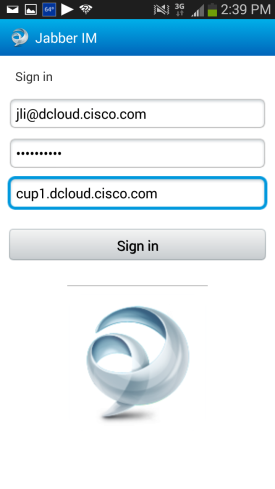
- Tap Sign In to continue.
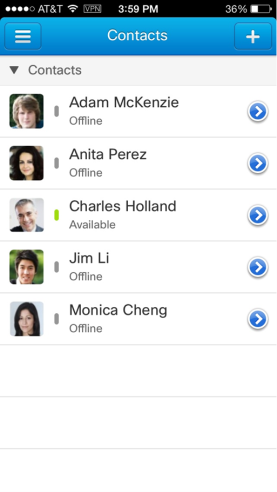
- If sign in is successful, you should see your contact list as shown in Figure 3 below.
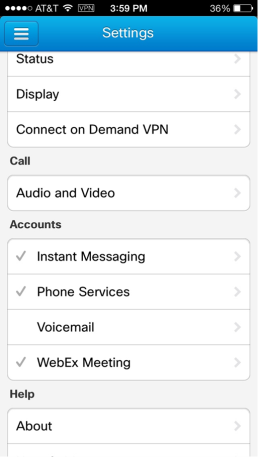
- Tap the Settings button [
 ] in the top left corner of the Cisco Jabber IM window. Scroll down to Accounts and ensure that Instant Messaging has a check mark next to it. This means it is provisioned and connected correctly.
- Tap any available contact for Instant Messaging and place a test IM to ensure it is working properly.
Install and configure Cisco Jabber Voice on your Android device
- From your Android smartphone or tablet, go to the Play Store and download the latest version of Cisco Jabber Voice.
- Launch the application by tapping the icon and then tap Accept for the User Agreement.
- Tap Begin Setup.
- Enter the user ID as shown below. Note, the user name will change based on the user the device is assigned to. Be sure to verify the login information from the Preconfigured Users table in the demonstration script. These images are captured from an Android smartphone, but the instructions for an Android tablet will be the same.

- Tap Verify.
- Enter the User ID and Password to complete setup.
- Tap any available contact and place a test call to ensure the service is working properly.
Troubleshooting connection issues
If you are having issues connecting to the Cisco Presence Server (CUP1.dcloud.cisco.com) or Call Manager/Phone Services (CUCM1.dcloud.cisco.com), follow the steps below to resolve the issue.- Connect to the Cisco dCloud VPN using the Cisco AnyConnect client. [Show Me How]
- Open a web browser and attempt to navigate to CUCM1.dcloud.cisco.com and CUP1.dcloud.cisco.com.
- If you are not able to connect to above URLs, disconnect the VPN and reconnect again.
- Once you are able to navigate to the URLs in step 2, launch Cisco Jabber IM or Cisco Jabber Voice and login to retry the Collaboration services.
![]() Back to top
Back to top
