About This Demo
What You'll Find in This Demo
This guide for the preconfigured demonstration includes two independent Cisco Calling and Meeting Integration demos: Microsoft Teams and Slack.
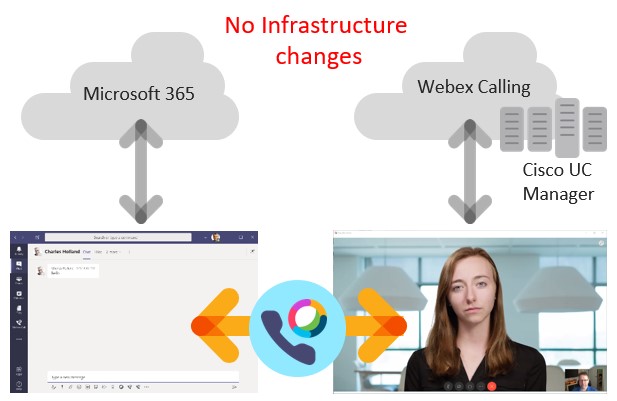
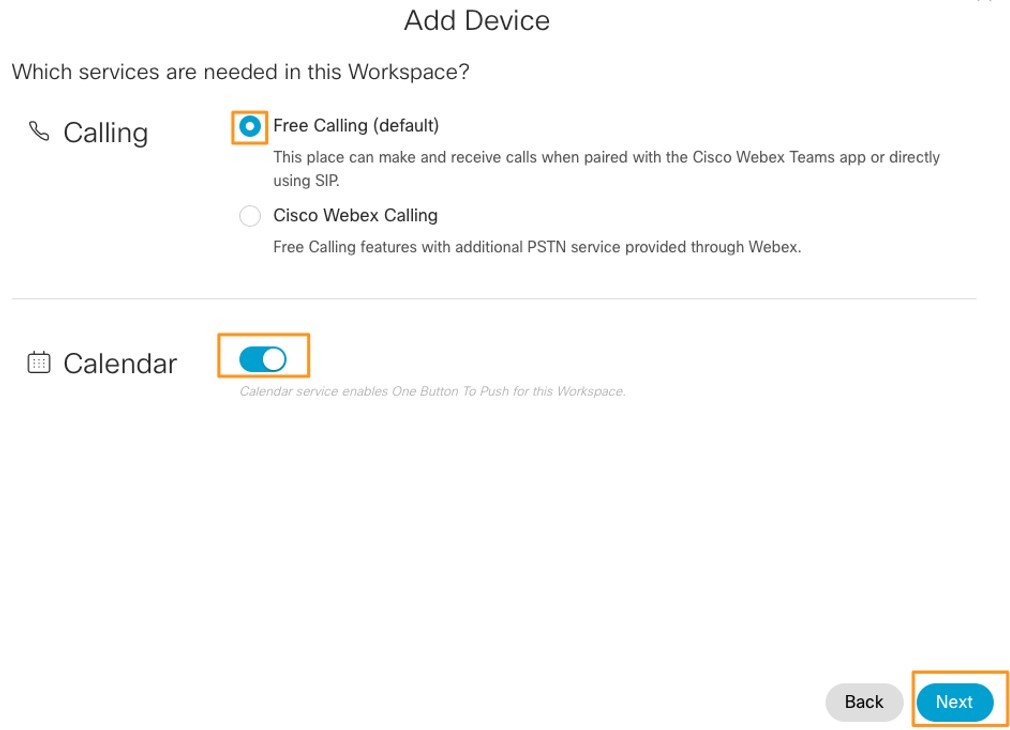
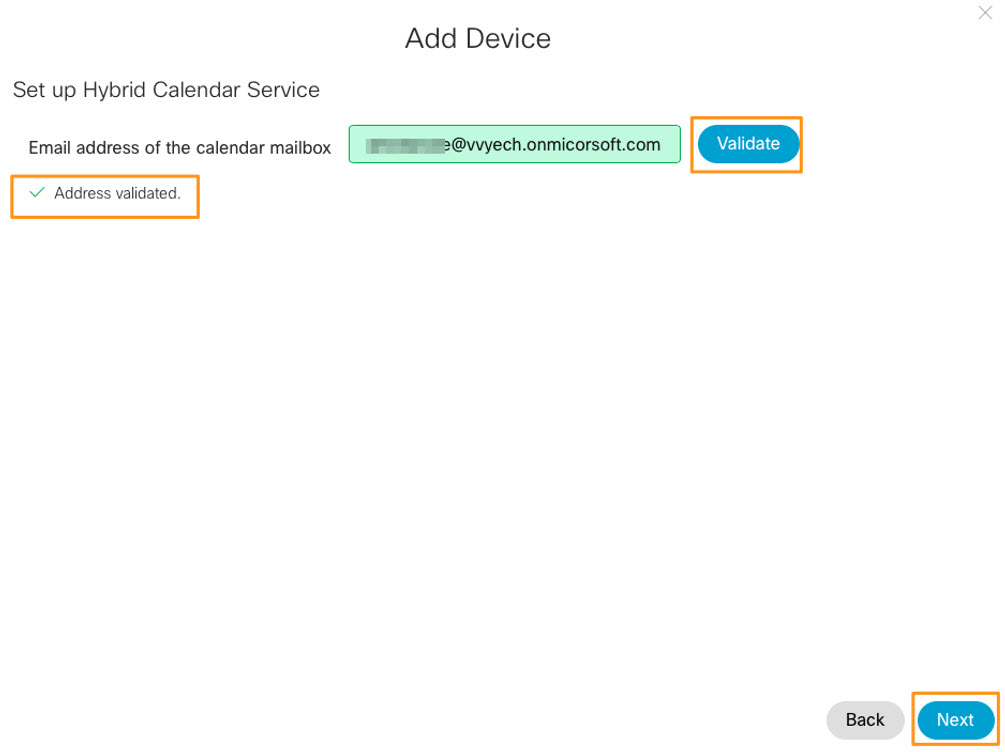
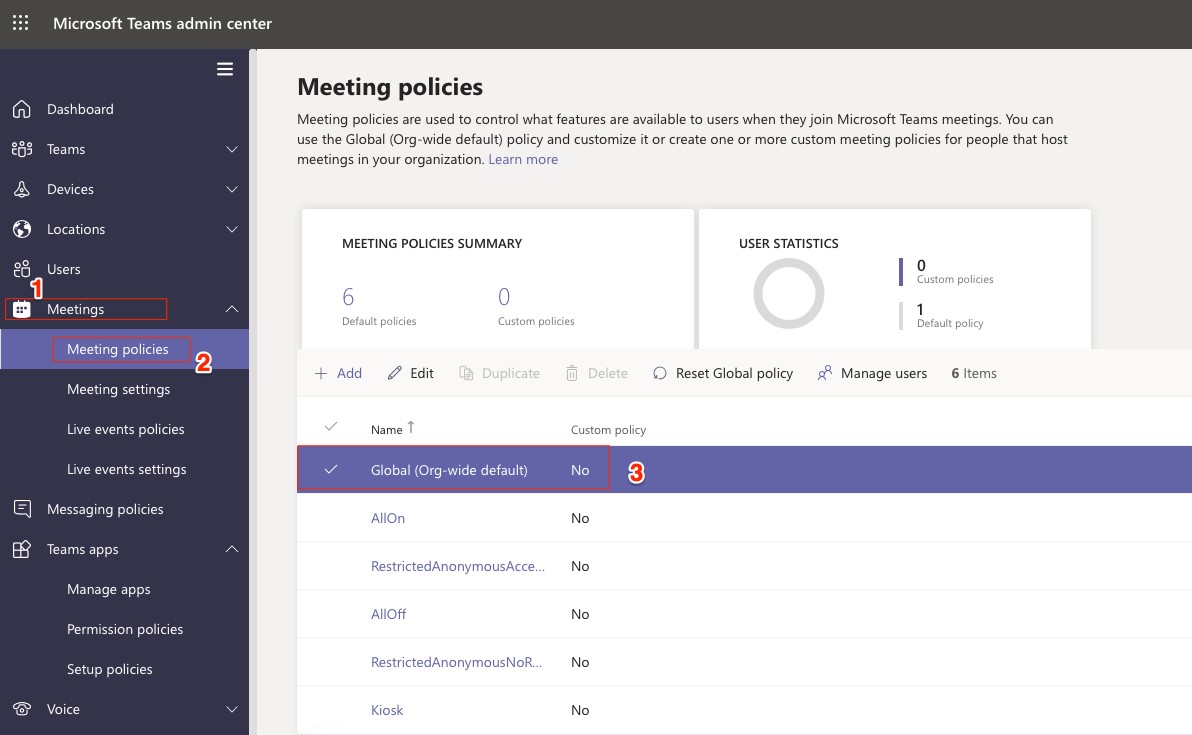
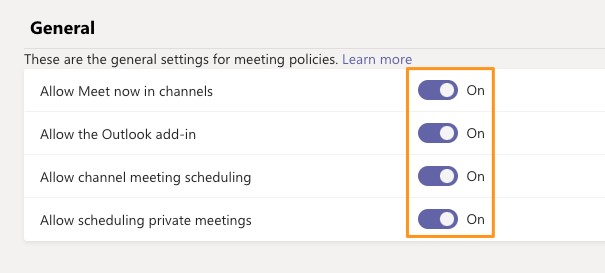
The Microsoft Teams integration demo has three independent scenarios:
-
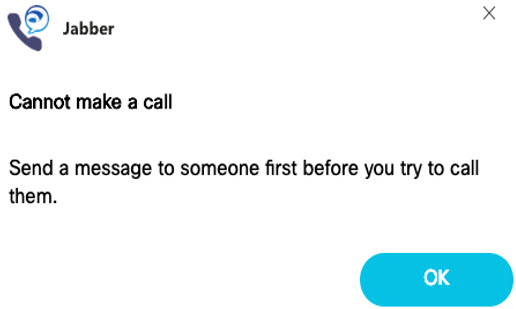
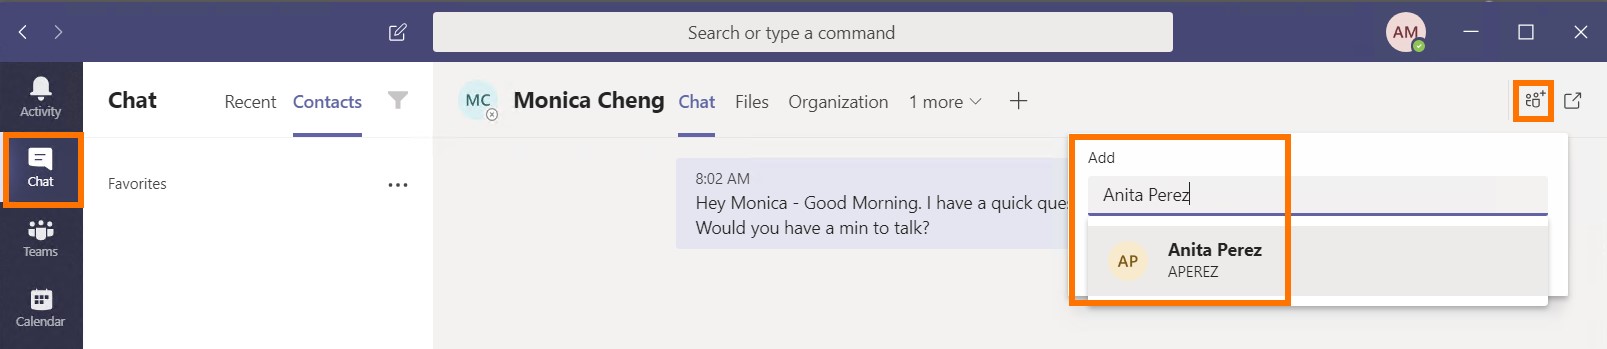
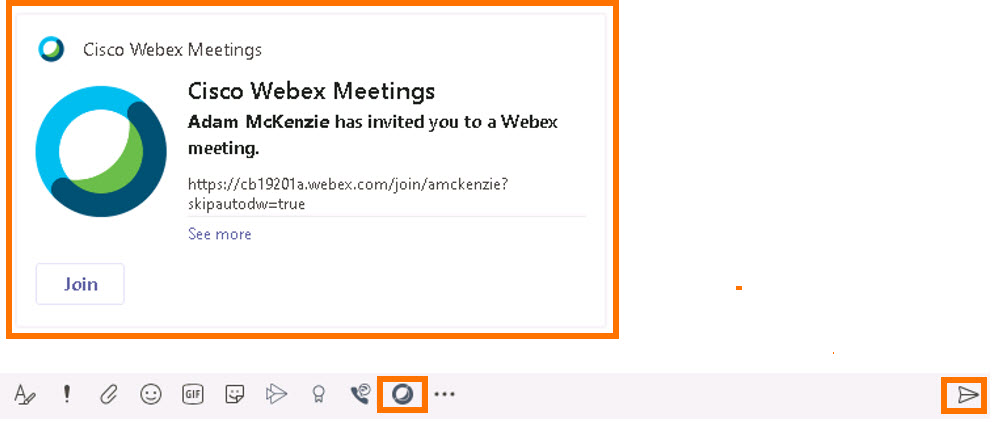
Cisco Jabber with Microsoft Teams
-
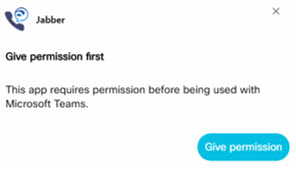
Cisco Calling with Microsoft Teams
-
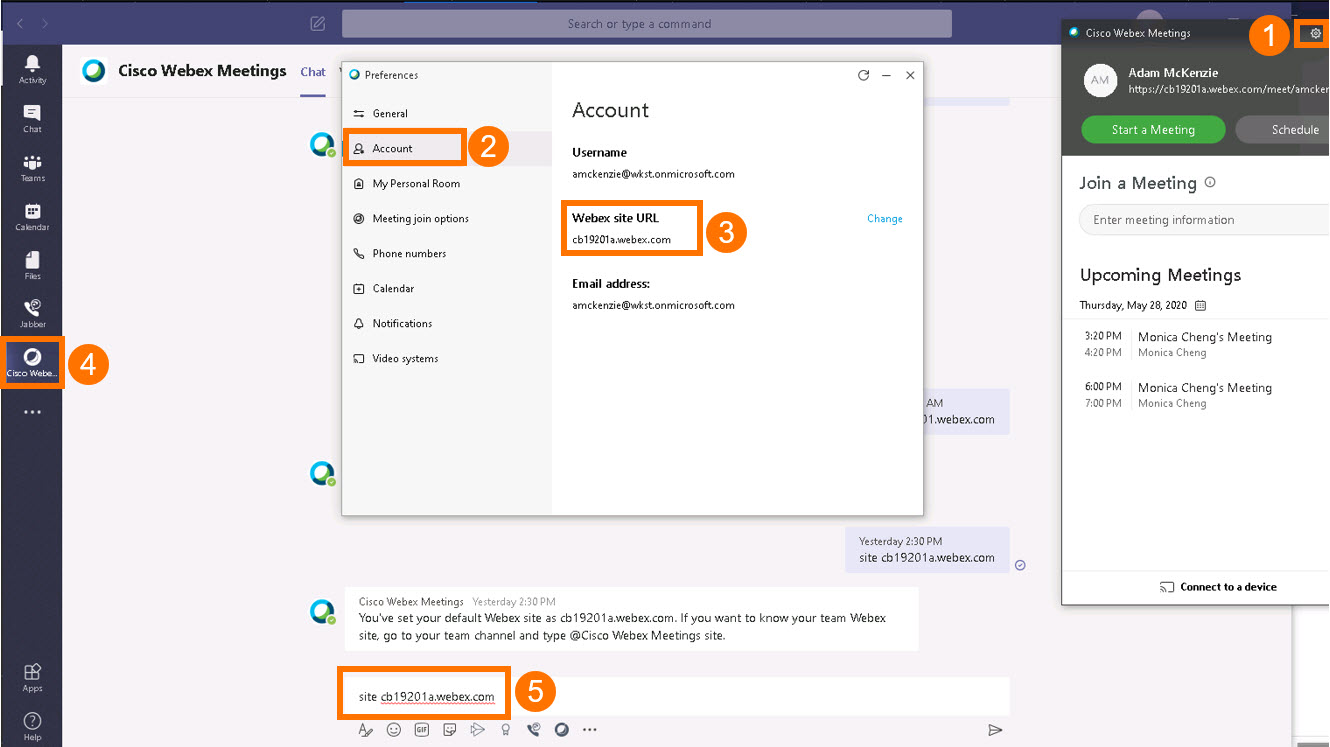
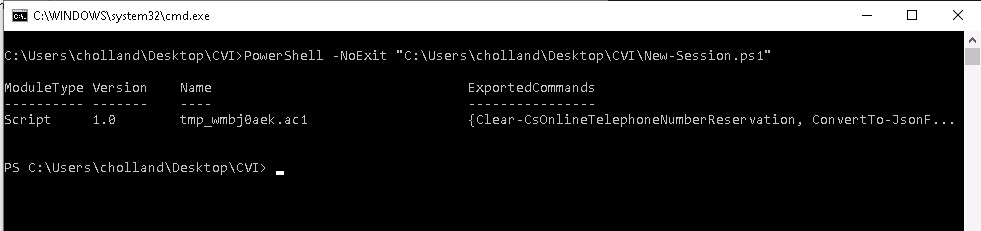
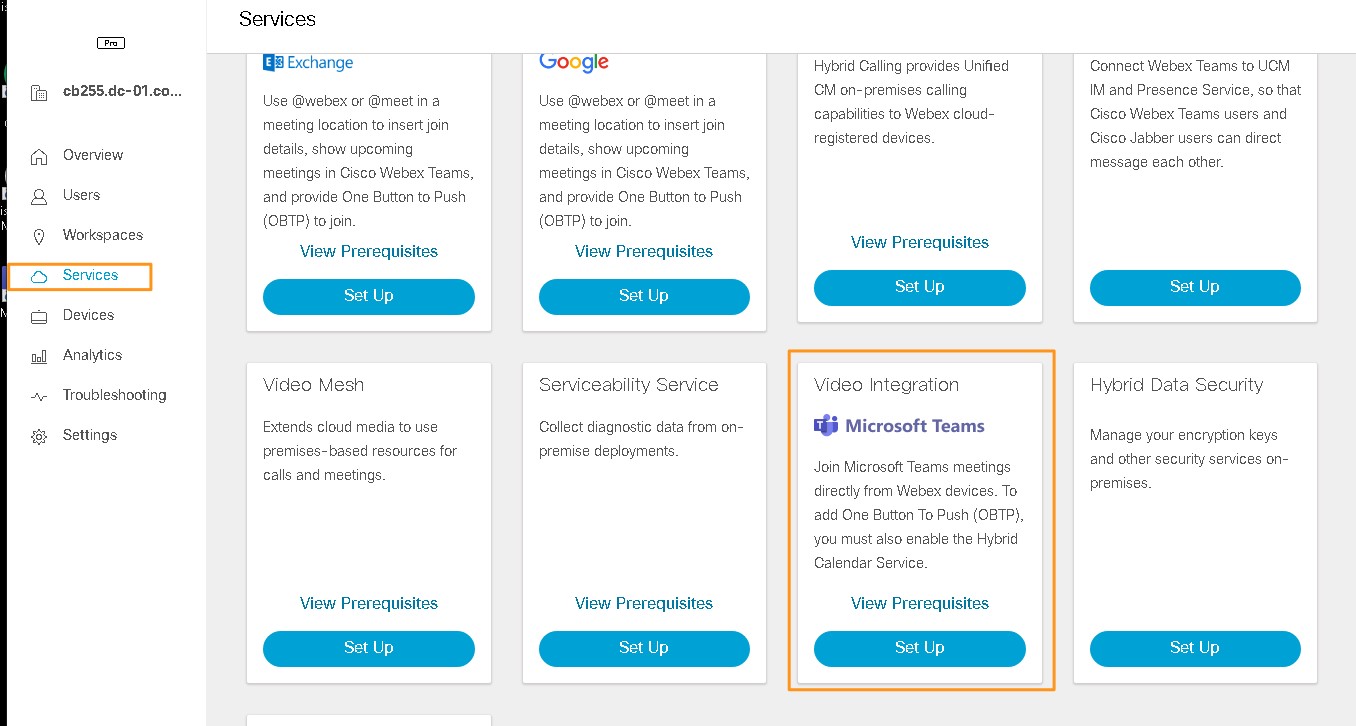
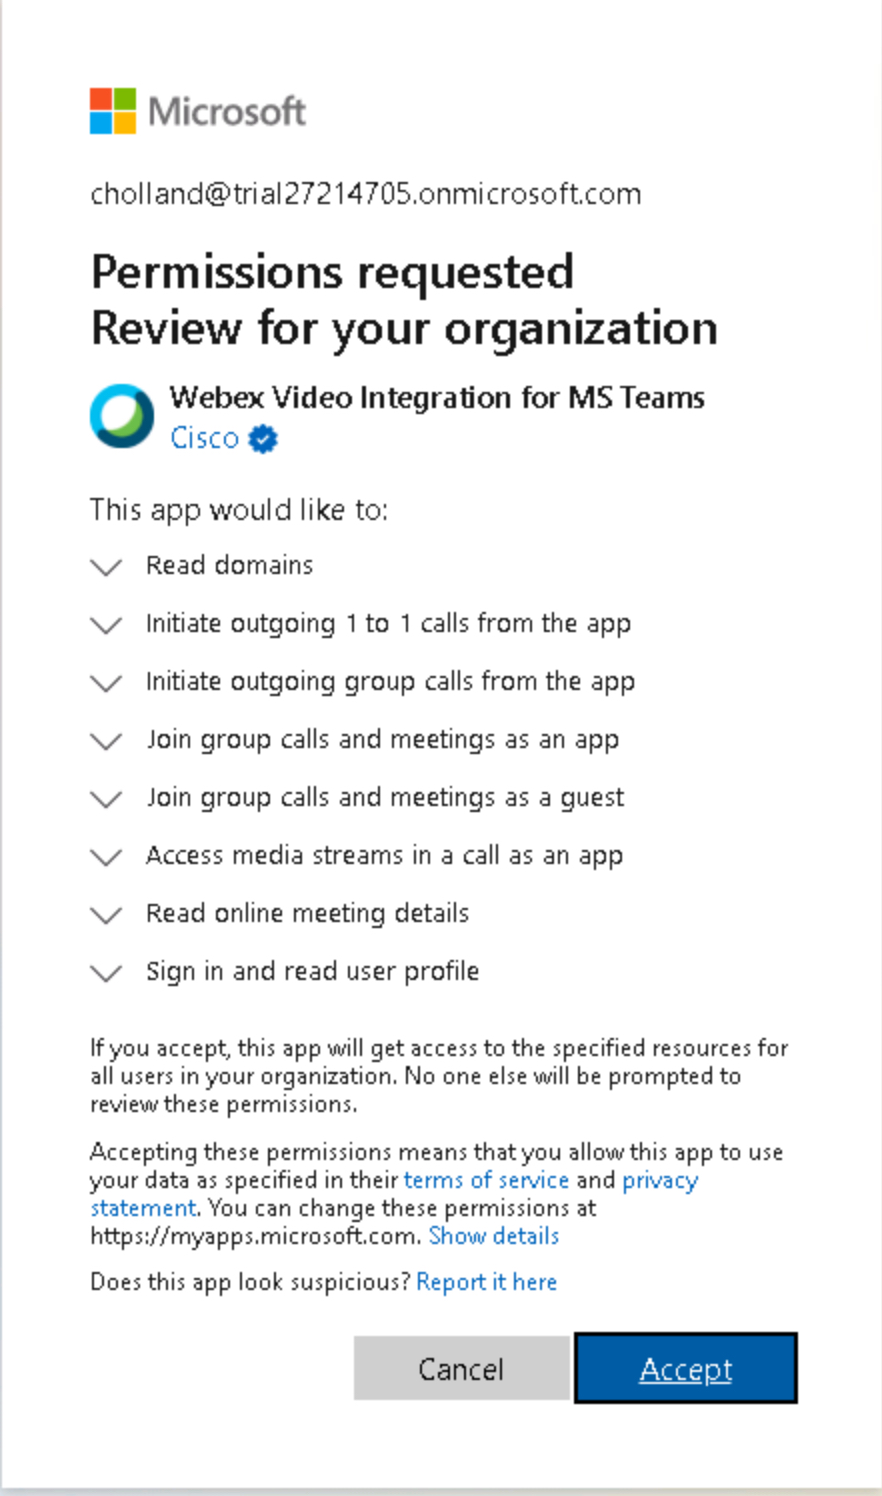
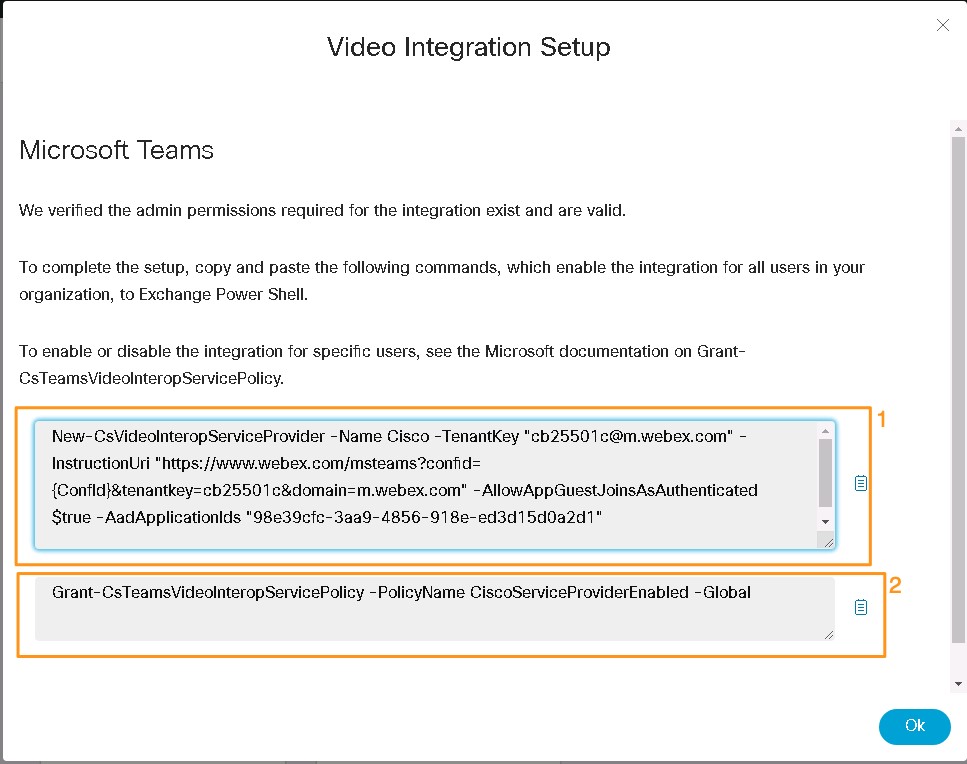
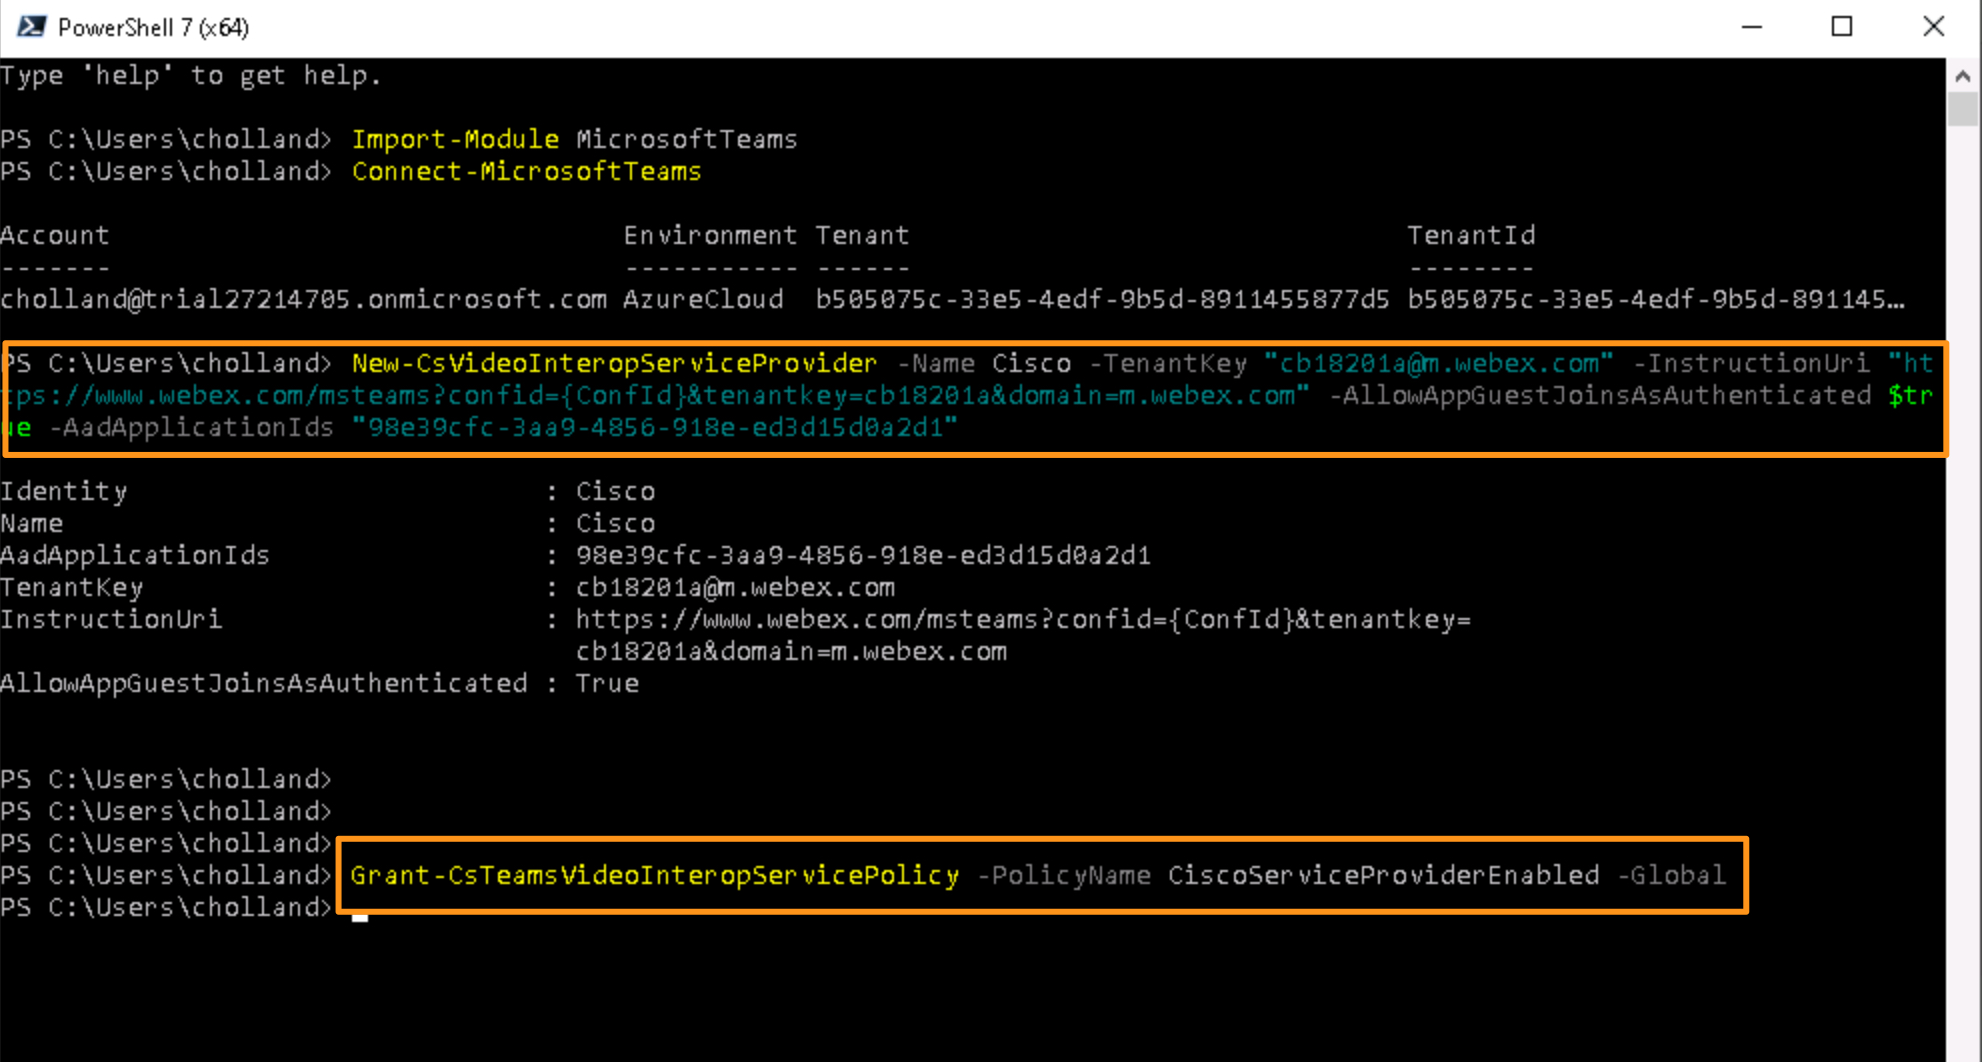
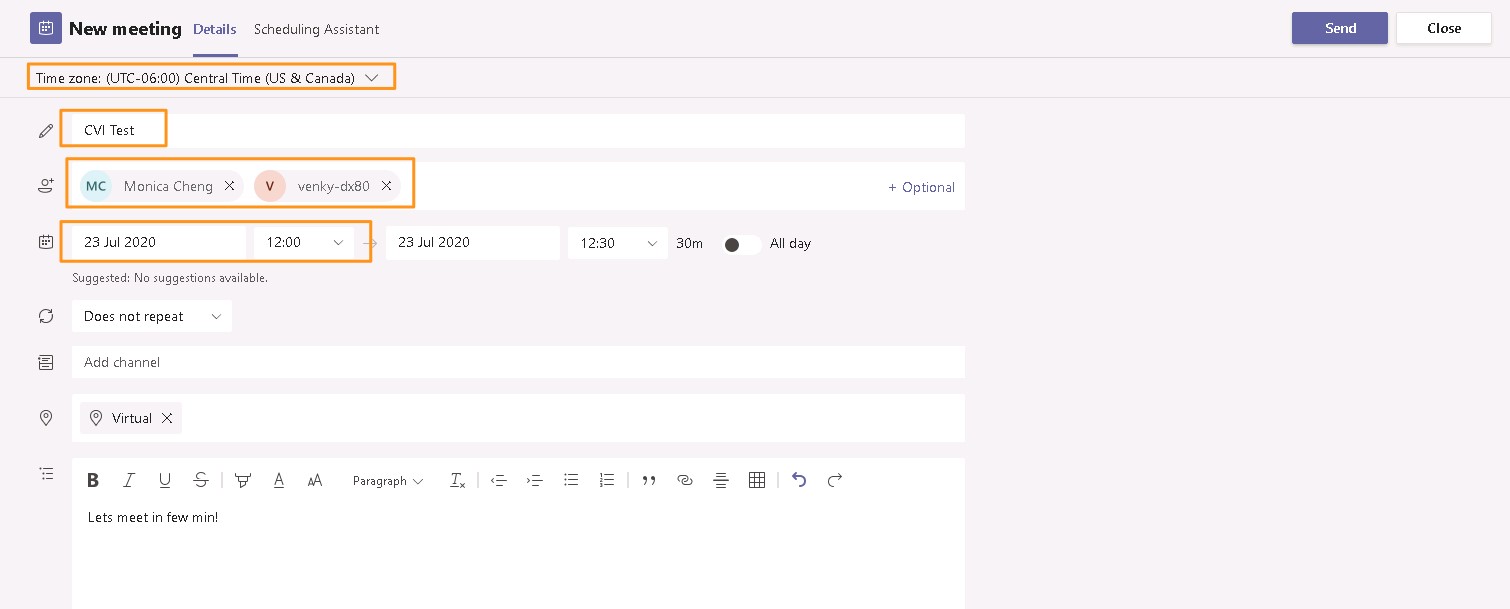
Cloud Video Interop (CVI) and WebRTC
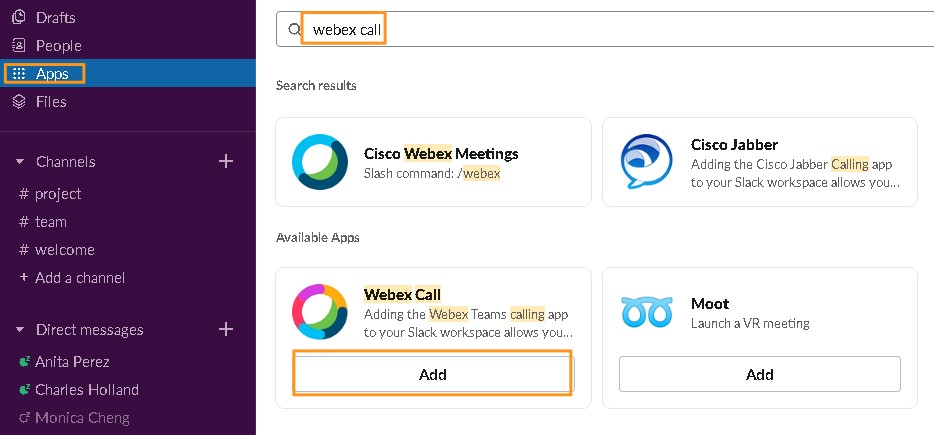
The Slack integration demo has two independent scenarios:
-
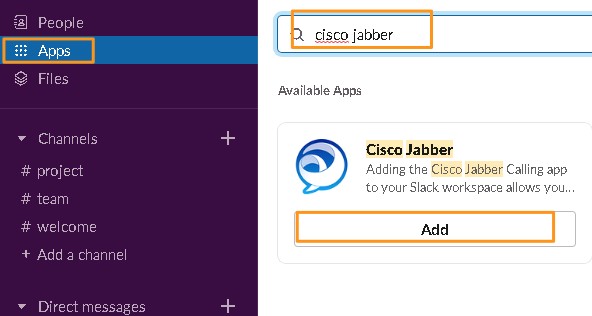
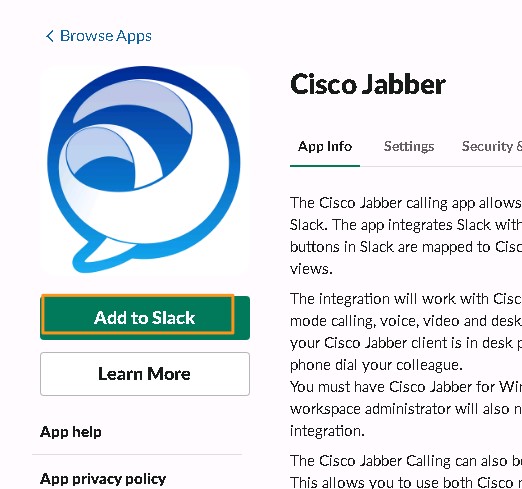
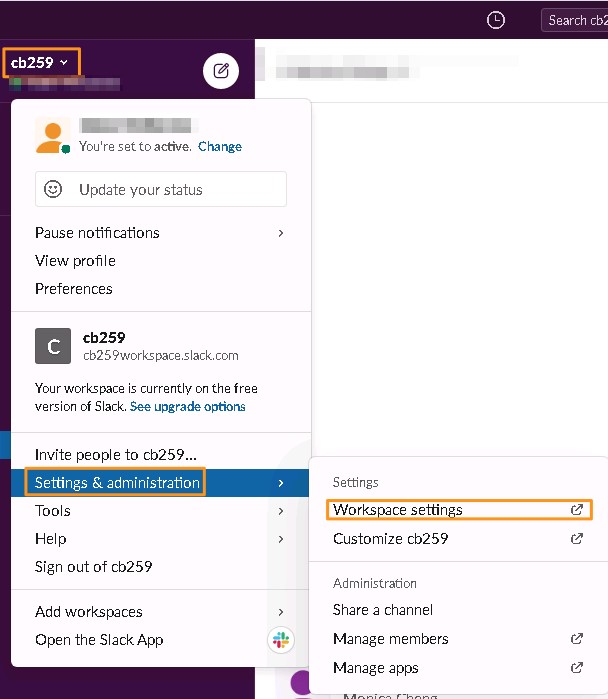
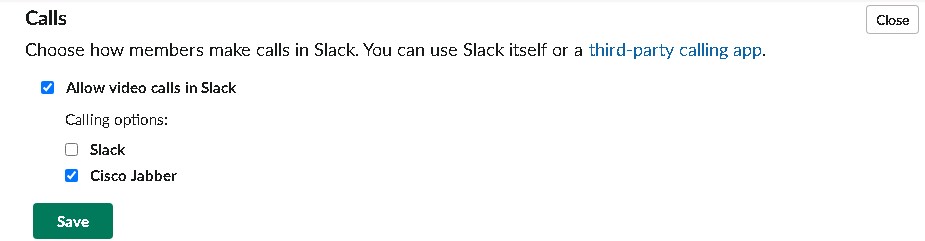
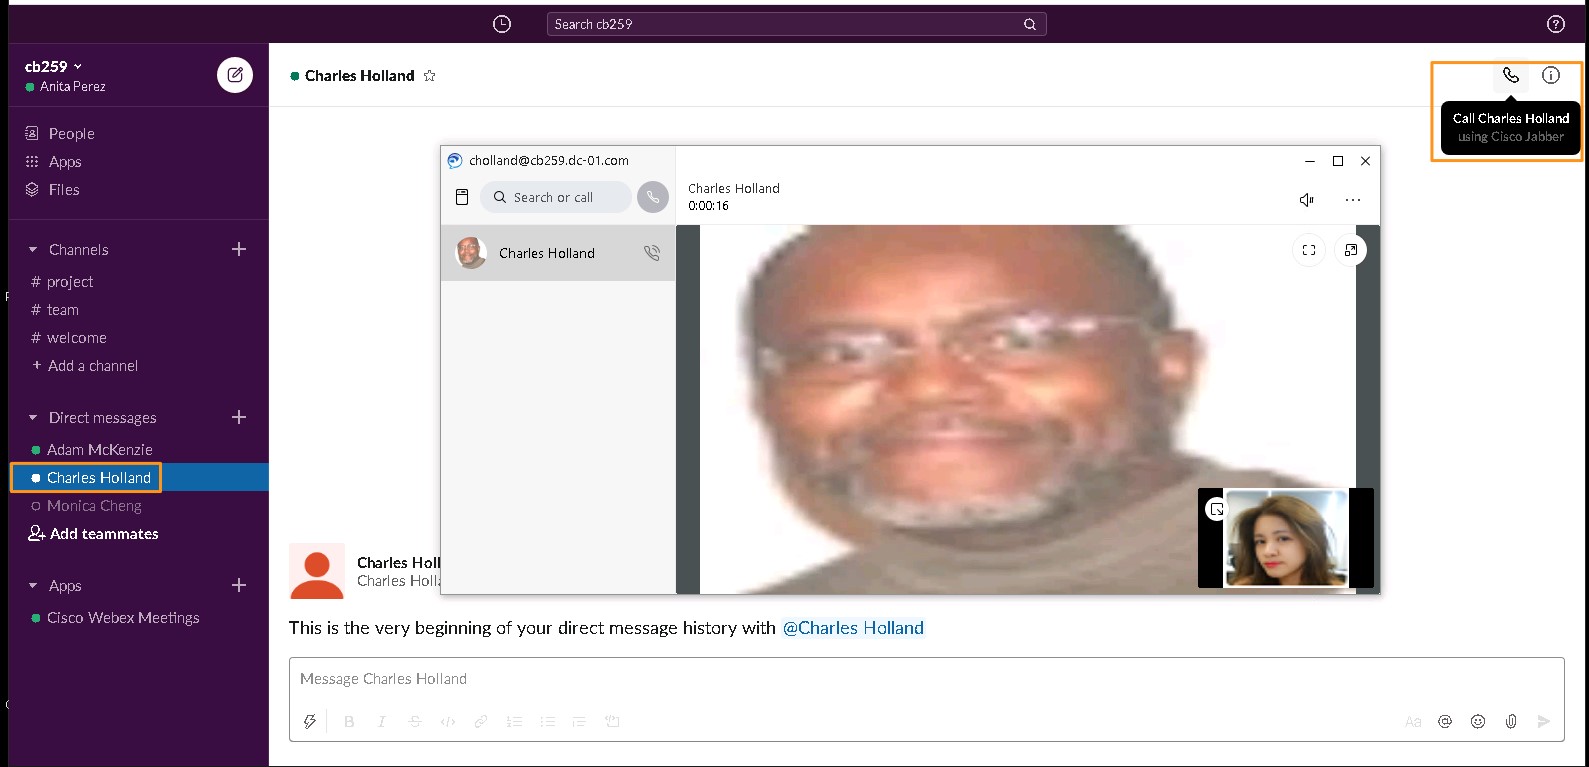
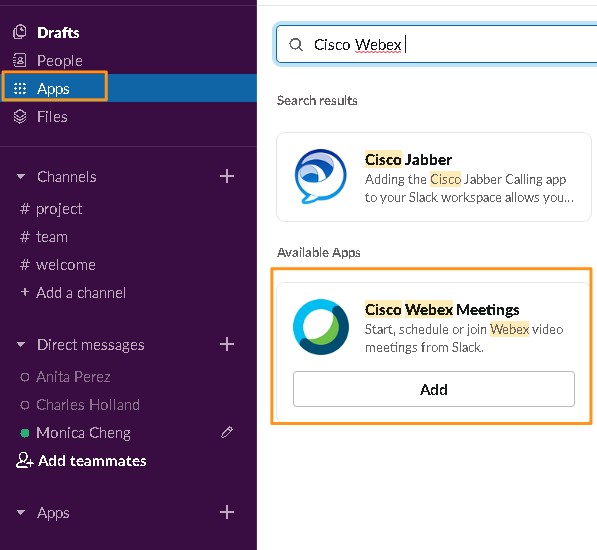
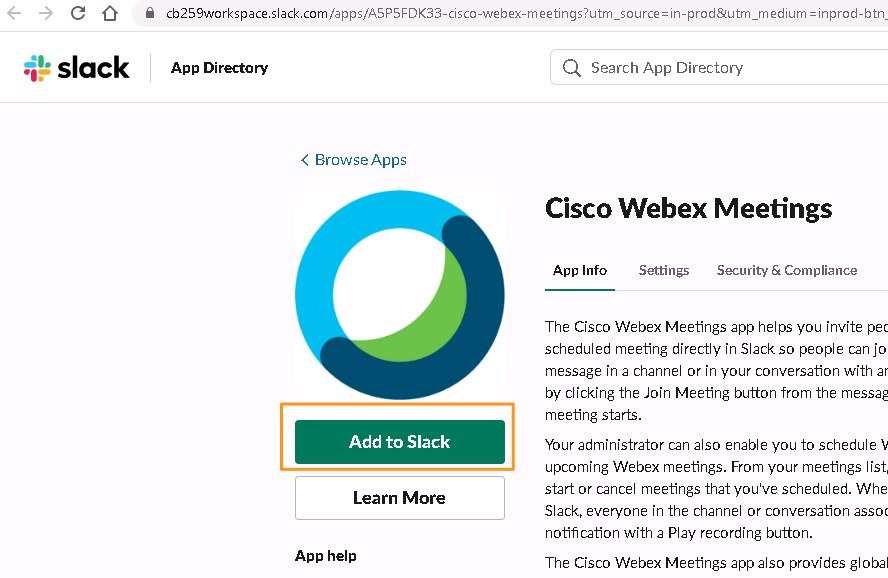
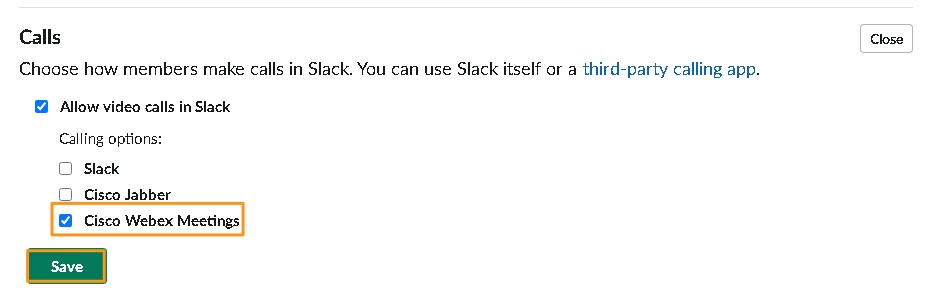
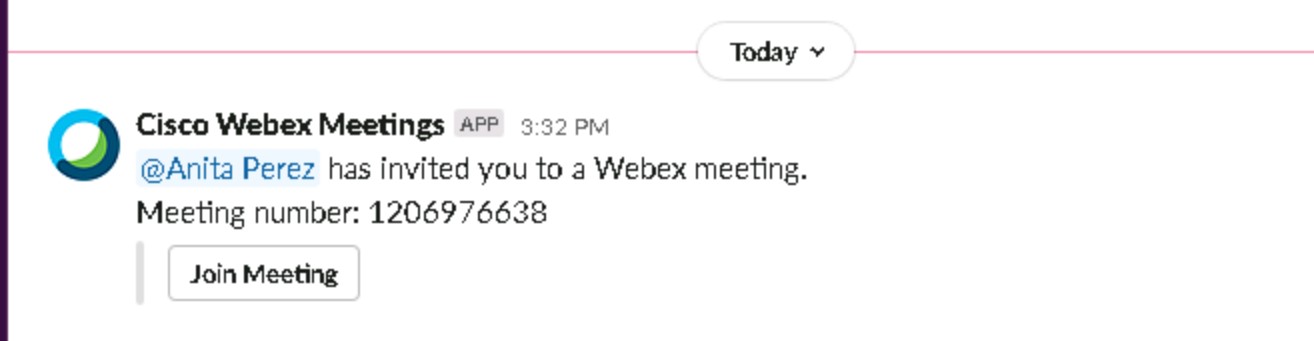
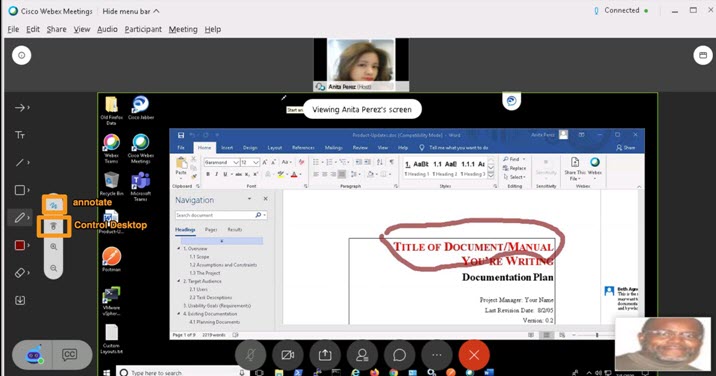
Cisco Jabber and Webex Meetings with Slack
-
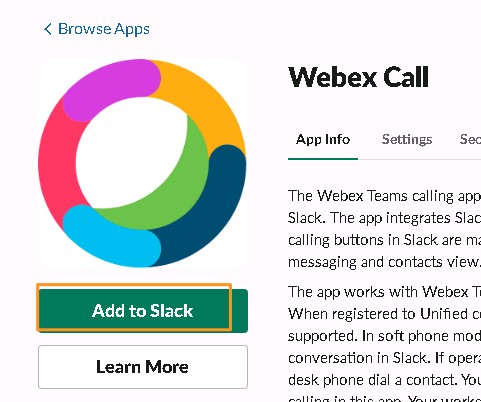
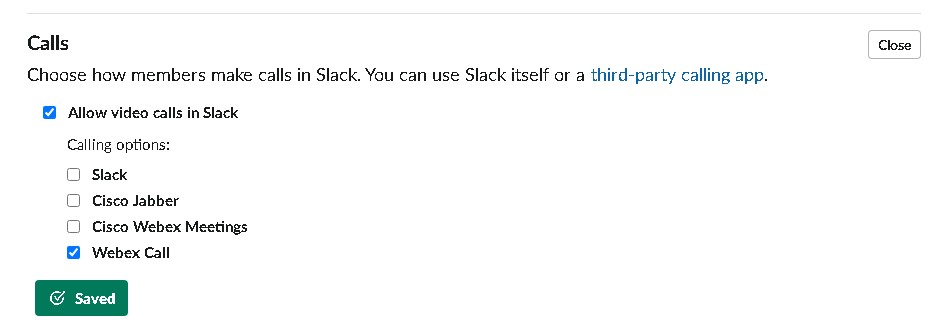
Cisco Webex Calling and Webex Meetings with Slack
Requirements
The table below outlines the requirements for this preconfigured demonstration.
| Required | Optional |
|---|---|
|
Laptop with Cisco AnyConnect® |
Any Cisco Video Endpoint or IP Phone Second laptop for video call |
Equipment Details
| Application | Version | URL | Username | Password |
|---|---|---|---|---|
| Microsoft Active Directory Server | 2012 R2 | 198.18.133.1 | DCLOUD administrator | C1sco12345 |
| Cisco Expressway – C | X12.5.6 | https://vcsc.dcloud.cisco.com | admin | dCloud123! |
| Cisco Expressway – E | X12.5.6 | https://vcse.dcloud.cisco.com | admin | dCloud123! |
| Cisco Unified Communications Manager | 12.5.1.10000-22 | https://cucm1.dcloud.cisco.com | administrator | dCloud123! |
| Workstation 1 | Windows 10 Pro | 198.18.1.36 | DCLOUD\amckenzie | dCloud12345! |
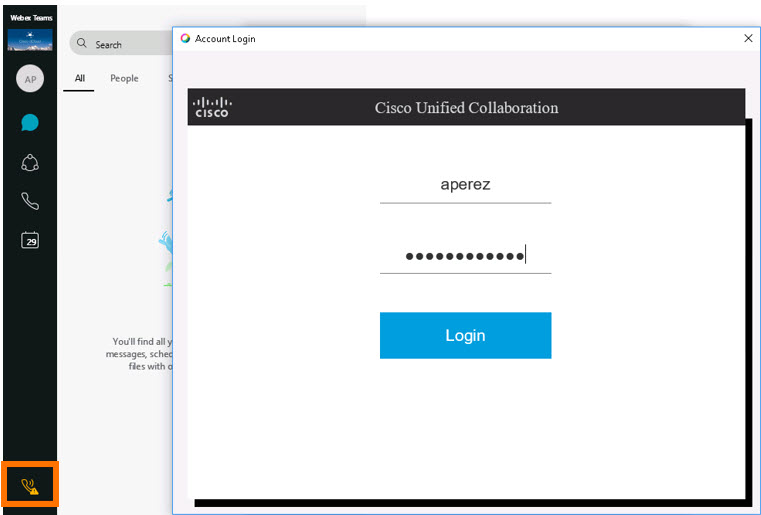
| Workstation 2 | Windows 10 Pro | 198.18.1.37 | DCLOUD\aperez | dCloud12345! |
| Workstation 3 | Windows 10 Pro | 198.18.1.38 | DCLOUD\mcheng | dCloud12345! |
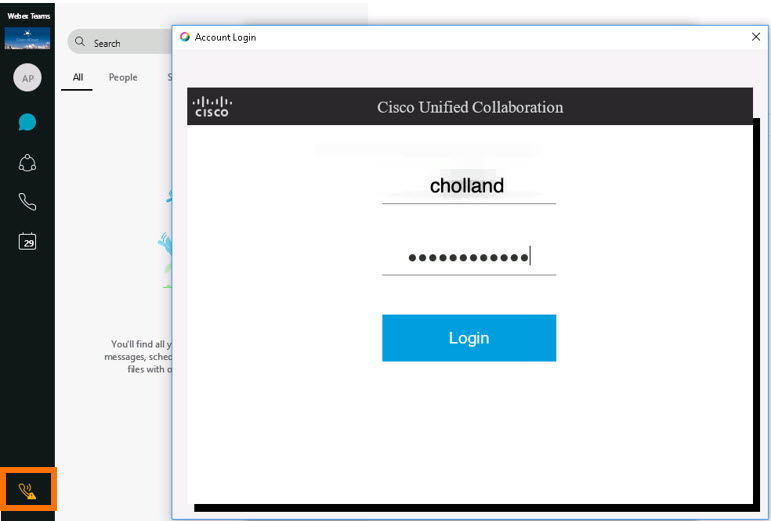
| Workstation 4 | Windows 10 Pro | 198.18.1.39 | DCLOUD\cholland | dCloud12345! |
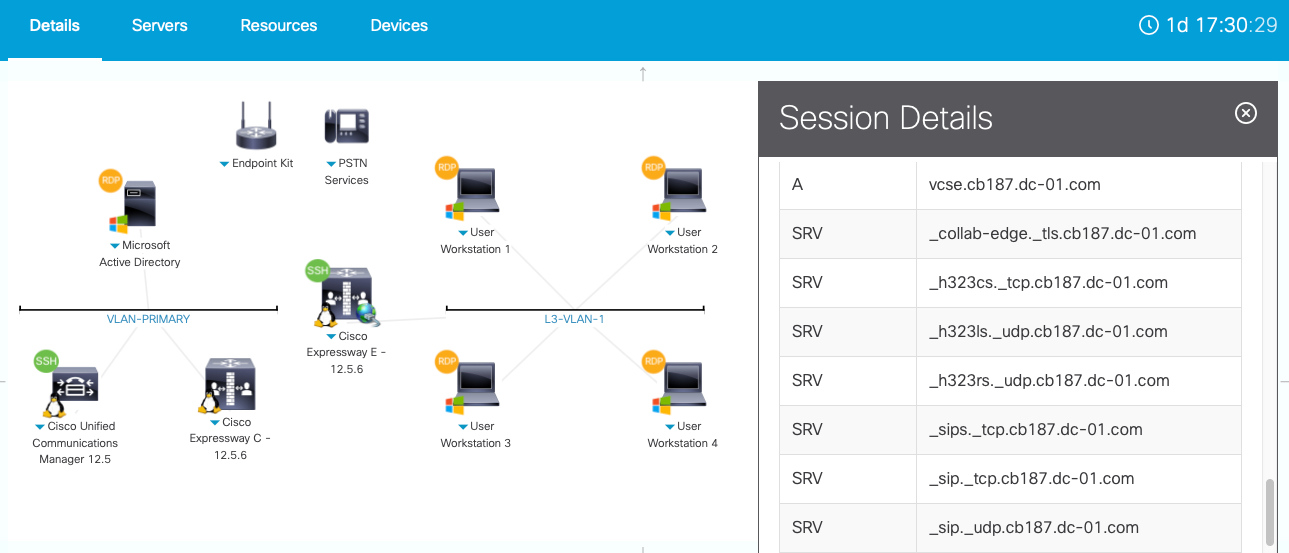
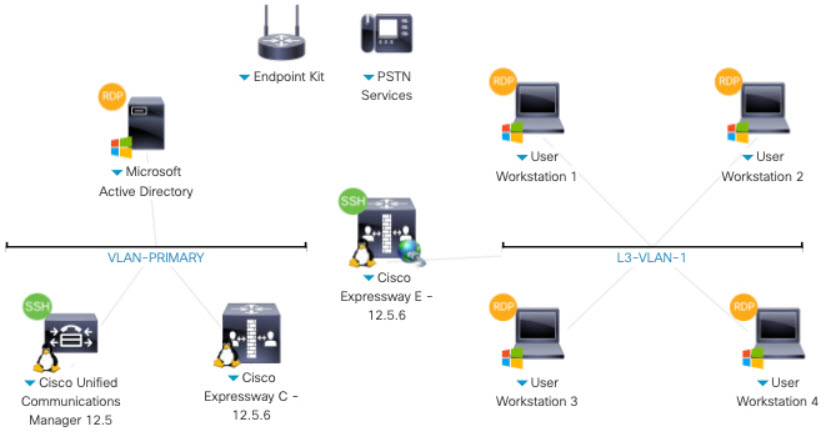
Topology
This demonstration includes several server virtual machines. Most of the servers are fully configurable using the administrative level account. Administrative account details are included in the guide steps where relevant and in the server details table.
Session Users
The table below contains details on preconfigured users available for your session.
| User Name & WKST | User ID | Password | IP Address | Jabber Device Name | Extension | Cross Launch Application |
|---|---|---|---|---|---|---|
|
Adam McKenzie WKST1 |
amakenzie | dCloud12345! | 198.18.1.36 | UCSFAMCKENZIE | 6016 | Cisco Jabber – UCM |
|
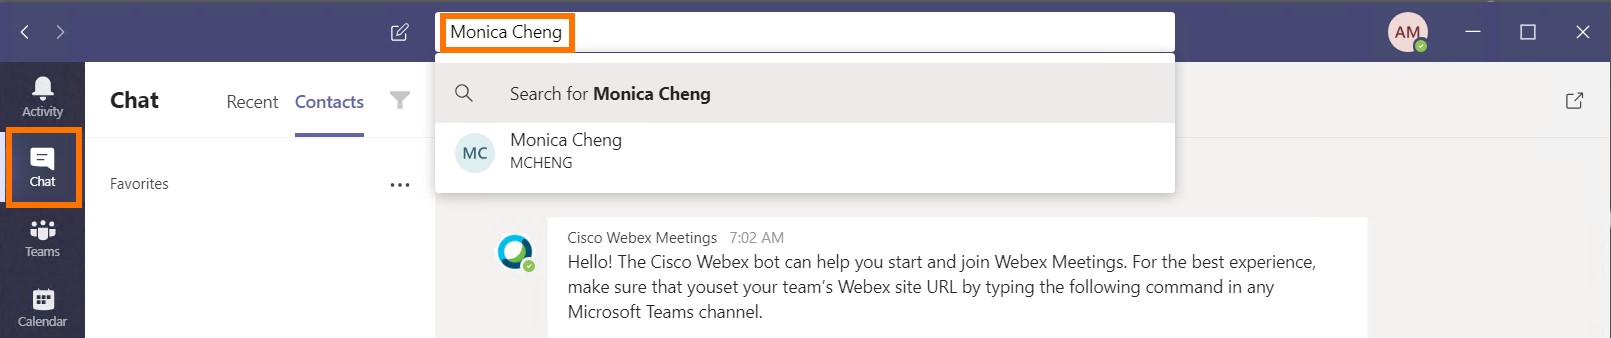
Monica Cheng WKST2 |
mcheng | dCloud12345! | 198.18.1.38 | UCSFMCHENG | 6020 | Cisco Jabber – UCM |
|
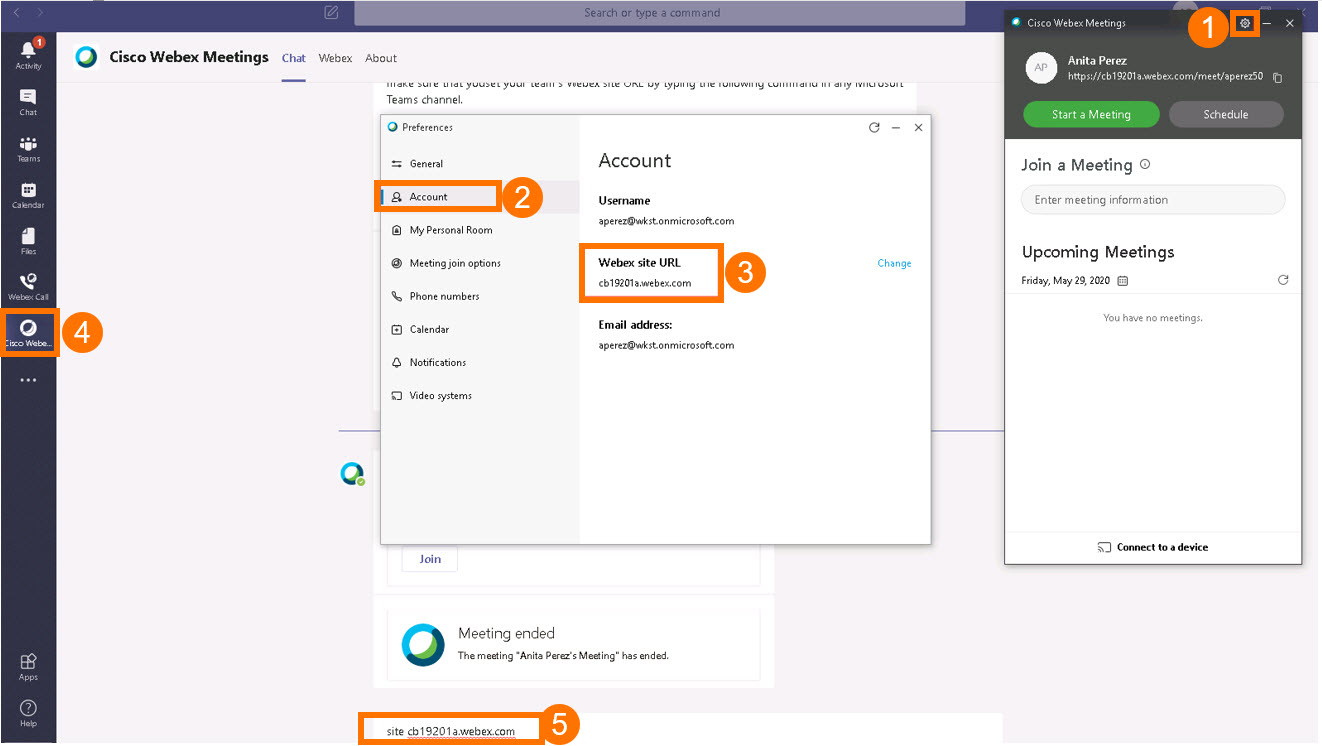
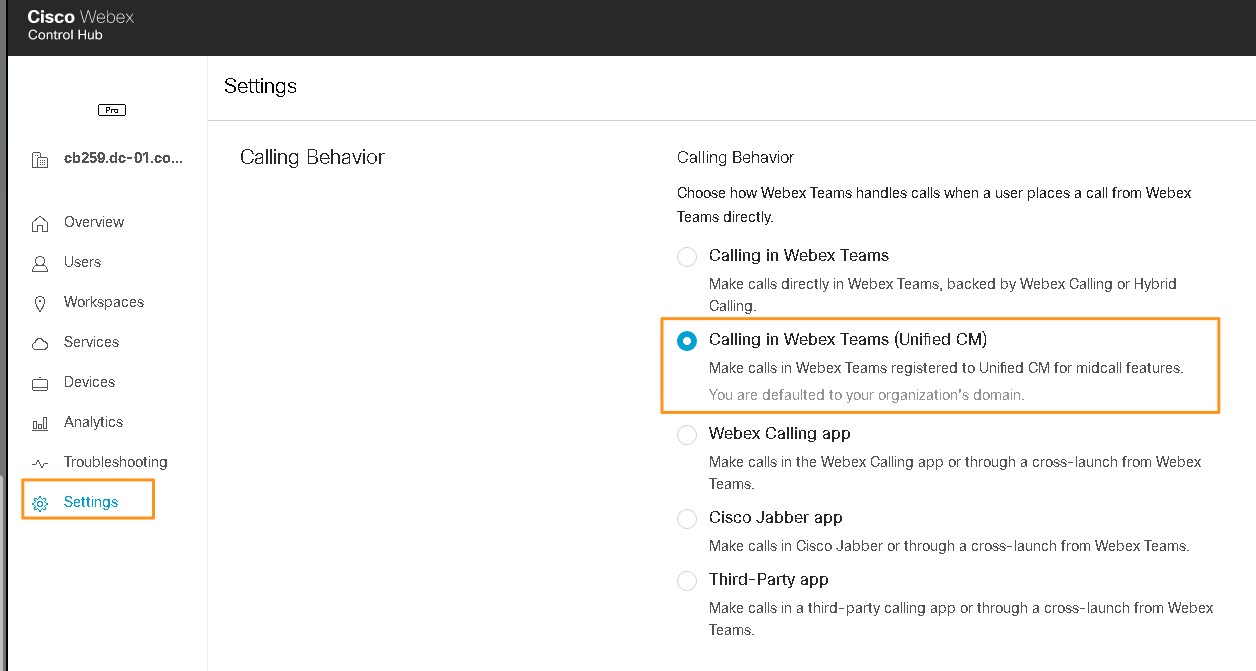
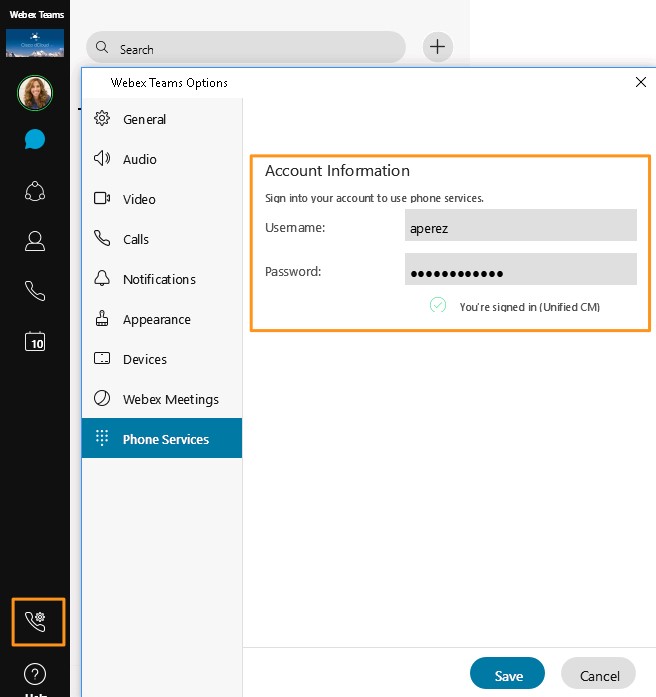
Anita Perez WKST3 |
aperez | dCloud12345! | 198.18.1.37 | UCSFAPEREZ | 6017 | Cisco Webex Call – UCM |
|
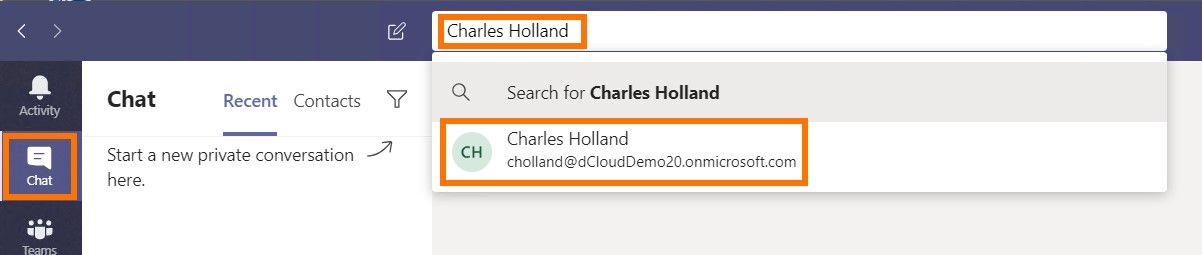
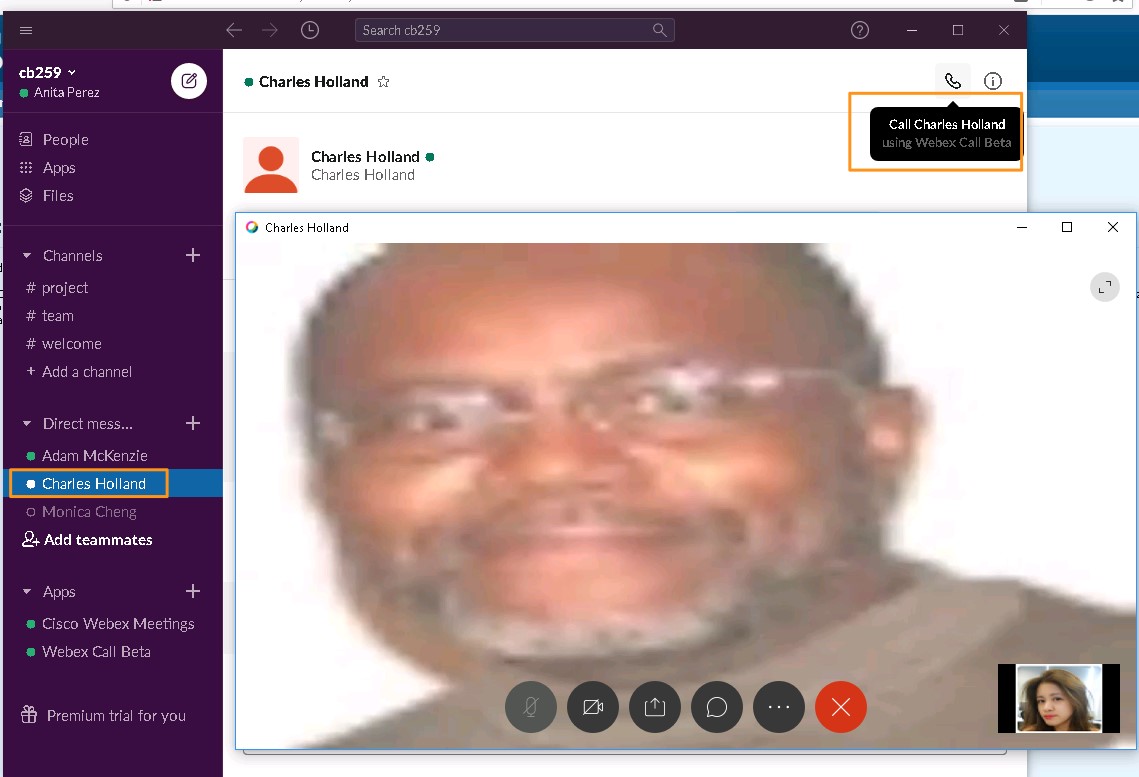
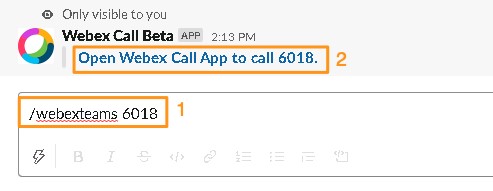
Charles Holland WKST4 |
cholland | dCloud12345! | 198.18.1.39 | UCSFCHOLLAND | 6018 | Cisco Webex Call – UCM |
DNS Addresses
To find your session’s list of unique domains, navigate to .
IMPORTANT: Each session has a unique domain. The image that follows is only an example. Do not use the information in the image below for your session